· 3 min read
Restore SharePoint back-ups on your Azure SQL Managed Instance
SharePoint Server 2019 and 2016 both support SQL Managed Instances. There are a few advantages of using Managed Instances in the cloud and one of them is that you can easier move database to the Cloud. In our scenario we had done a ‘proof of concept’ at a client over a year ago. The goal was to prove that SharePoint 2019 could satisfy the project requirements. All went well and the client was convinced SharePoint 2019 would check the boxes. At the end of the PoC we backed up our databases and decommissioned the farm. Now we needed to get some data from that configuration, and we had to restore our databases. Due to the nature of the data it must be separate farm.
SharePoint 2019 and Azure Managed Instances
The first step is to setup a new farm in Azure, we chose for a domain controller and SP machine and store our data in a SQL Managed Instance. The basics about this are described in Deploy Azure SQL Managed Instance with SharePoint Servers 2016 and 2019. Once everything is in place you can play around with your newly created SharePoint farm. In our case we decided to setup search and manage metadata as that was all we needed. However, you can add other service applications as well.
Restoring a content database
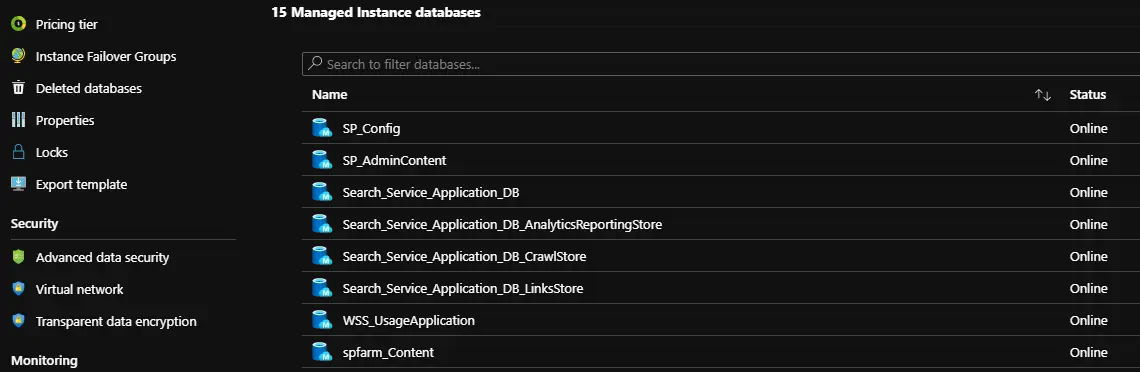
Now the fun starts: restoring a Content Database. You can find a nice sample about doing so on Quickstart: Restore a database to Azure SQL Managed Instance with SSMS. Yet there are a few remarks. Firs of all I needed a public endpoint as described in the article. The public endpoint will look something like name-sql-id.public.id.database.windows.net. And if you follow the steps you will allow the Network Security Group to process traffic from port 3342. If you then try to connect through it using your SQL Sever Management Studio you have to make sure to name-sql-id.public.id.database.windows.net,3342. I must admit it took me over an hour of walking through my network setup before realizing I tried to connect to name-sql-id.public.id.database.windows.net and had not specified the port. Once you connected you can walk through the steps to restore from a back-up file that is present in a storage account. Restoring is straight forward; you must connect to the blob storage account using a credential. Make sure to keep the identity as ‘SHARED ACCESS SIGNATURE’ and only specify the secret. Once the database is restored to SQL you can mount it in SharePoint. As your Managed Instance uses SQL authentication you have to specify the databases credentials to mount the database.
$user = "sql_admin"
$pwd = ConvertTo-SecureString "somepassword" -AsPlainText -Force
$mycreds =  New-Object -TypeName PSCredential -ArgumentList $user, $pwd

Test-SPContentDatabase -Name "CNT-RESTORE" -WebApplication http://demo-restore.local -DatabaseCredentials $mycreds
Mount-SPContentDatabase -Name "CNT-RESTORE" -DatabaseServer "databaseserver" -WebApplication http://demo-restore.local -confirm: $false -DatabaseCredentials $mycreds
Hope this will help you restore your databases to a SQL Managed Instance and make life a bit easier.

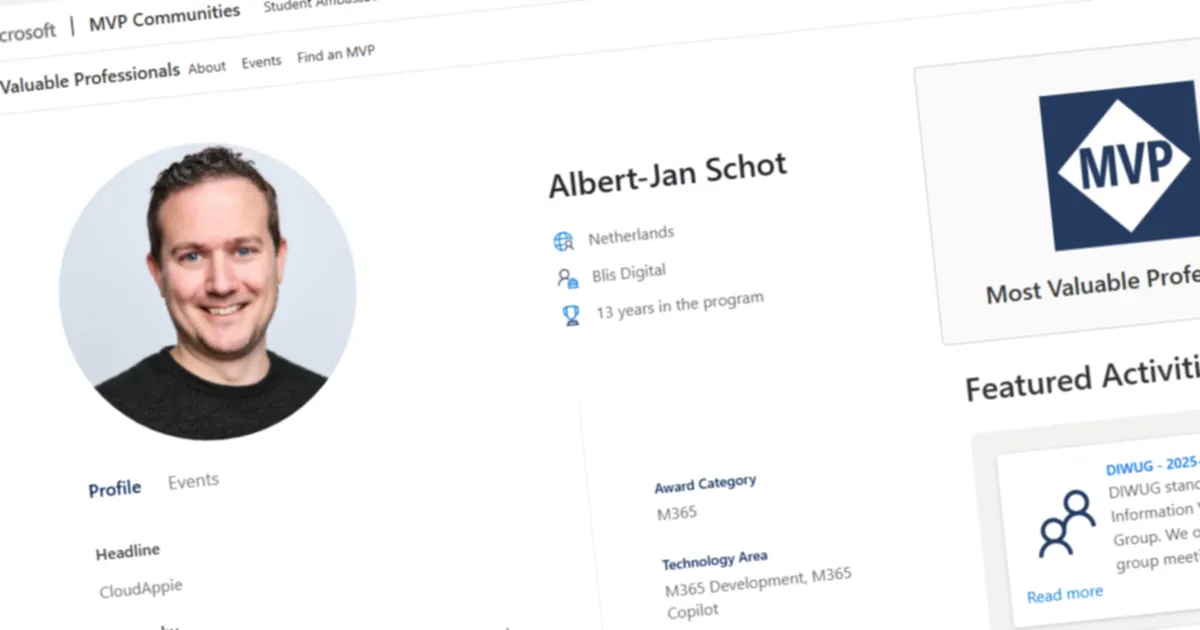
Albert-Jan Schot
CTO, Microsoft MVP & FastTrack Recognized Solution Architect
I am Albert-Jan Schot, CTO at Blis Digital, Microsoft MVP, and FastTrack Recognized Solution Architect focused on Microsoft 365, Azure, and AI agents. I help teams turn complex Microsoft Cloud challenges into practical architecture decisions and shipped outcomes.
Zuid Holland, Netherlands