· 4 min read
Reinstalling my laptop; what config I use
What’s better than to use a few days off to reorganize? During the days before Christmas, I usually reinstall my laptop to make sure that next year I have a great start with a clean machine.
Software
I am currently running a Surface Book 2. Reinstalling Windows thus requires a bootable USB disk with a recovery image. After a fresh installation, it is a matter of running some updates. And to make sure I got all up to Windows update 1909. Our company pushes Office and some other policies but no other software. So reinstalling is pretty quick. After that, it is a matter of downloading the required software and installing some packages.
- 7-Zip
- Azure Storage Explorer
- Docker Desktop
- Fiddler
- Fork
- Edge Beta
- Keepass (usually installed right after OneDrive to get all my passwords)
- Paint.net
- Snagit
- Visual Studio Code
- Windows Terminal
- ZoomIt
After all the software is installed I also make sure to delete the apps I don’t use. I use a quick PowerShell script for that. I also have some handy tools like IllSpy and ngrok in a tools folder on my OneDrive. They offer a portable version, so there is no need to install them locally.
Besides all that software there are a few PowerShell modules that I install right away.
- AzureADPreview
- Microsoft.Online.SharePoint.PowerShell
- MSOnline
- SharePointPnPPowerShellOnline
- oh-my-posh
- posh-git
The last two are from a blog post called How to make a pretty prompt in Windows Terminal with Powerline, Nerd Fonts, Cascadia Code, WSL, and oh-my-posh by Scot Hanselman. They help in making things look pretty. The details on that are described in the settings chapter.
For switching between different versions of Node I use NVM. It allows you to run different versions. Thus leverage the correct node version for SPFx or other projects. Installing NVM for Windows is the first step followed by an install of common requirements like Gulp, Yeoman and the SPFx and Teams packages.
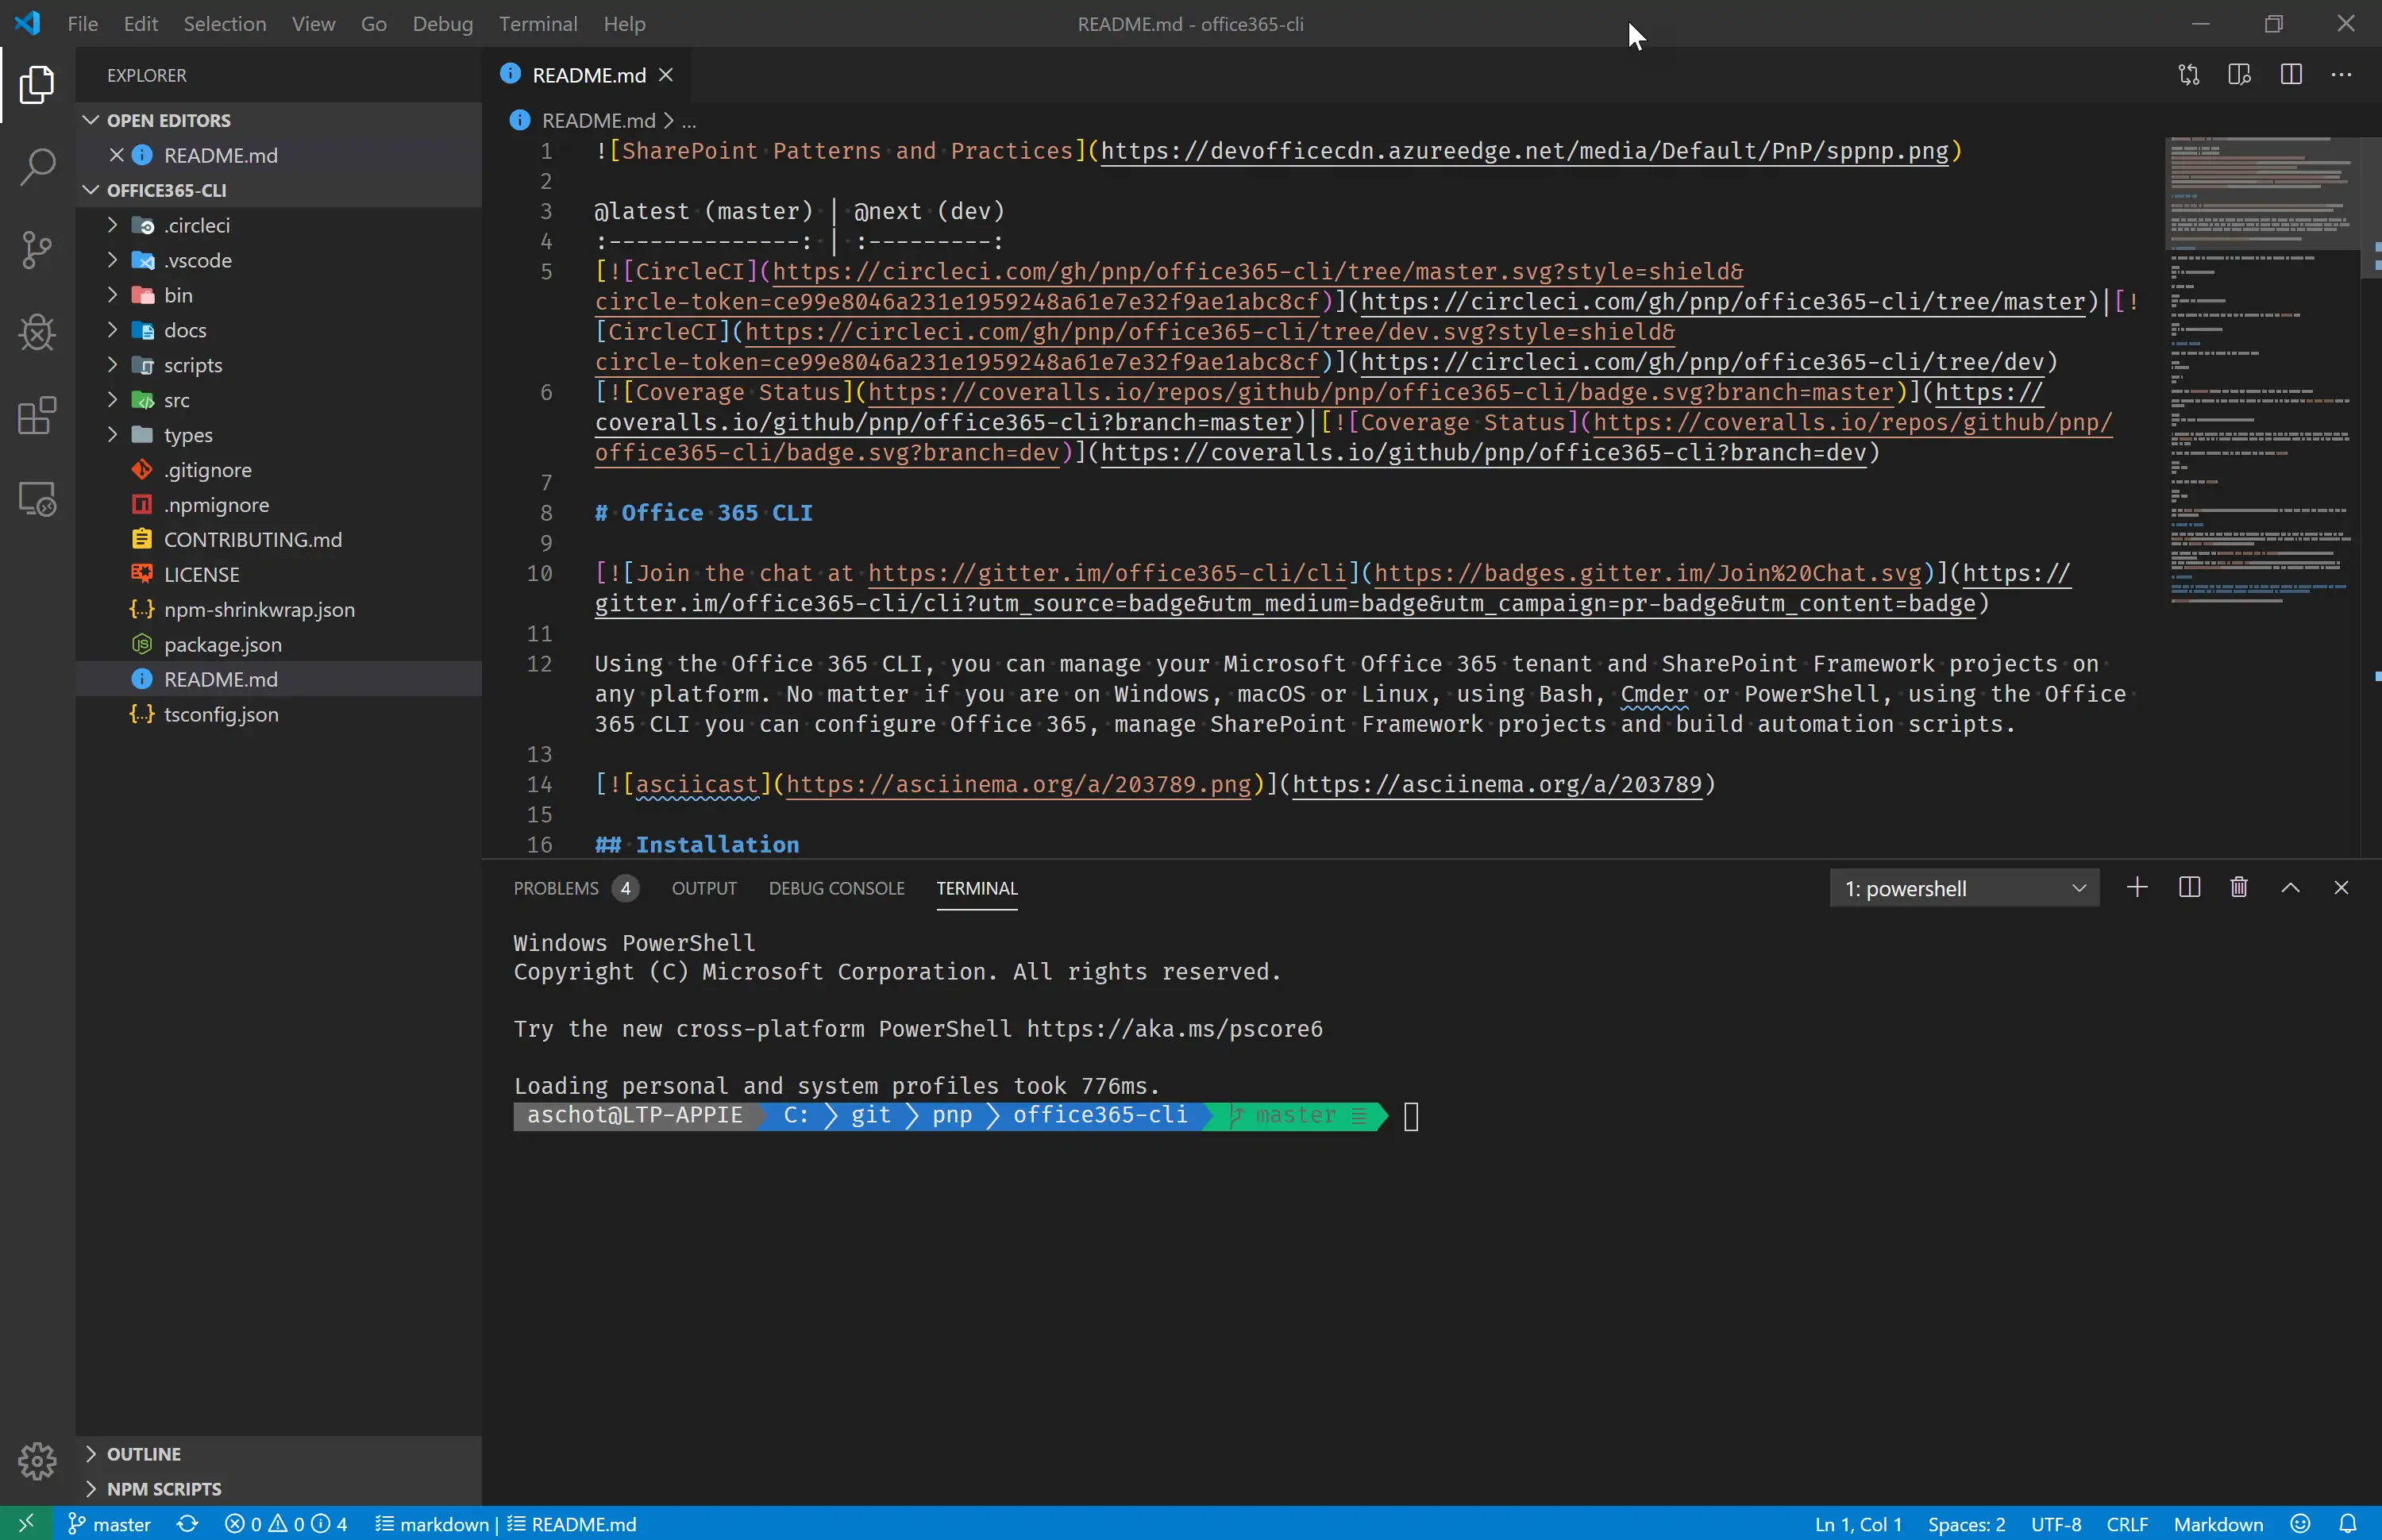
Visual Studio Code settings
For Visual Studio Code, I use a plugin Setting Sync to save all my settings to GitHub. That way after a reinstall the only thing I have to do is to log in again. It will automatically pull all my settings. I loved the post Make your dev environment awesome with VSCode + OhMyZSH 🔥🔥🔥 plugins, fonts, Icons and others . So I took most of those settings and customized a few. I ended up with the following:
{
    "sync.autoUpload": true,
    "sync.autoDownload": true,
    "workbench.iconTheme": "material-icon-theme",
    "workbench.editor.enablePreviewFromQuickOpen": false,
    "[typescript]": {
        "editor.defaultFormatter": "vscode.typescript-language-features"
    },
    "git.enableSmartCommit": true,
    "git.autofetch": true,
    "window.zoomLevel": 0,
    "explorer.confirmDelete": false,
    "breadcrumbs.enabled": true,
    "window.title": "${dirty} ${activeEditorMedium}${separator}${rootName}",
    "editor.fontFamily": "Fira Code",
    "editor.fontLigatures": true,
    "editor.minimap.renderCharacters": false,
    "editor.minimap.maxColumn": 150,
    "editor.minimap.showSlider": "always",
    "editor.renderWhitespace": "all",
    "editor.smoothScrolling": true,
    "editor.cursorBlinking": "phase",
    "editor.cursorSmoothCaretAnimation": true,
    "files.insertFinalNewline": true,
    "files.trimTrailingWhitespace": true,
    "explorer.confirmDragAndDrop": false,
    "git.confirmSync": false,
}
As you can see use a Custom Font Fira Code, so that is something I download as well. I use that font for all my code related work, so it is configured as my cmd window, PowerShell Profile, and Windows Terminal as well.
For VSCode plugins the minimum I use are the following:
- Bracket Pair Colorize
- Code Spell Checker
- Front Matter
- Import Cost
- Markdown Preview
- markdownlint
- Material Icon Theme
- Rainbox CSV
- Remote WSL
- Setting Sync
Other settings and config Settings
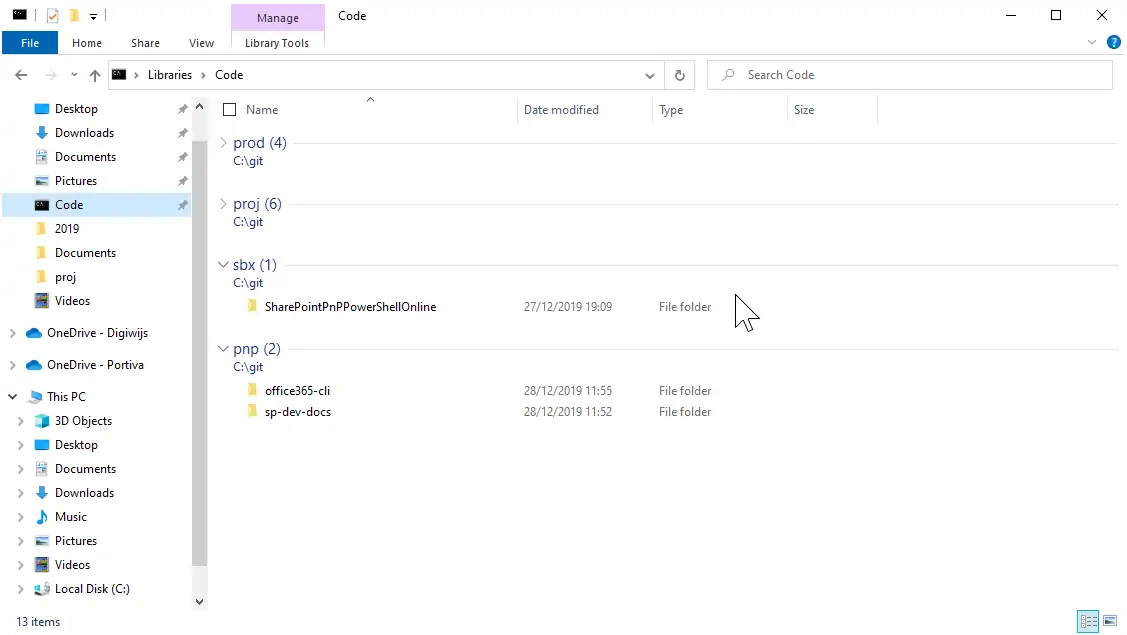
Working on multiple projects at the same time is probably something most of you do. So I took at hearth a tip from my colleague Stephan van der Knijff. He came up with the idea to create a Library folder. Folders like that allow you to map other folders to it. By pinning it to your Quick Launch you can easily browse all projects. So that’s how ended up creating a \git\ folder with four subfolders. These folders categorize my projects over work-related stuff. Products and Projects that I work on for Portiva, and Open Source and sandbox stuff. It even allows me to regularly clean up my temp folder.
With that a new install of my laptop took around 60 minutes to complete after Windows was finished updating. Making sure I am all set for next year.

Albert-Jan Schot
CTO, Microsoft MVP & FastTrack Recognized Solution Architect
I am Albert-Jan Schot, CTO at Blis Digital, Microsoft MVP, and FastTrack Recognized Solution Architect focused on Microsoft 365, Azure, and AI agents. I help teams turn complex Microsoft Cloud challenges into practical architecture decisions and shipped outcomes.
Zuid Holland, Netherlands