· 4 min read
Code your blog header image using Front Matter
Inspired by Elio Struyf’s post Generate open graph preview image in Code with Front Matter, I decided I needed that in my life as well. The result? A slightly modified version that generates my blog header images. Automating this process ensures consistency and saves a bit of time. If you’ve ever wanted to streamline your blog header creation with a bit of code, this might be just what you need!
Front Matter
I have been using Front Matter ever since it came out and I love it. Though I will be the first to admit that I don’t use it to its full potential. I started with just a single template, and just used it for the content generation and making sure the metadata is up to date. Yet there have been quite a few improvements over the last few years so I can recommend having a look at the docs once in a while.
Coming up with a header image
When you read up Generate open graph preview image in Code with Front Matter you will find that the steps are pretty straight forward, you need just two things:
- A script that gets executed
- A reference in the Front Matter config>
.vscode/settings.json
Depending on you requirements the script needs some dependencies. In my case I added sharp and playright, but if you have a different technical flow you might require more or other packages.
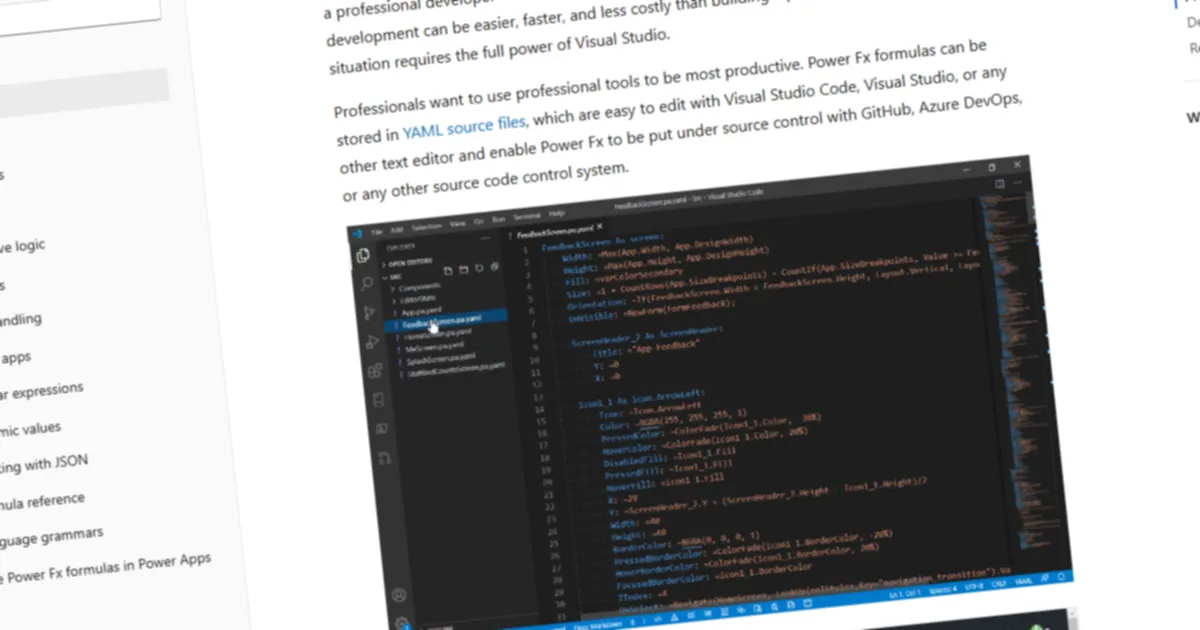
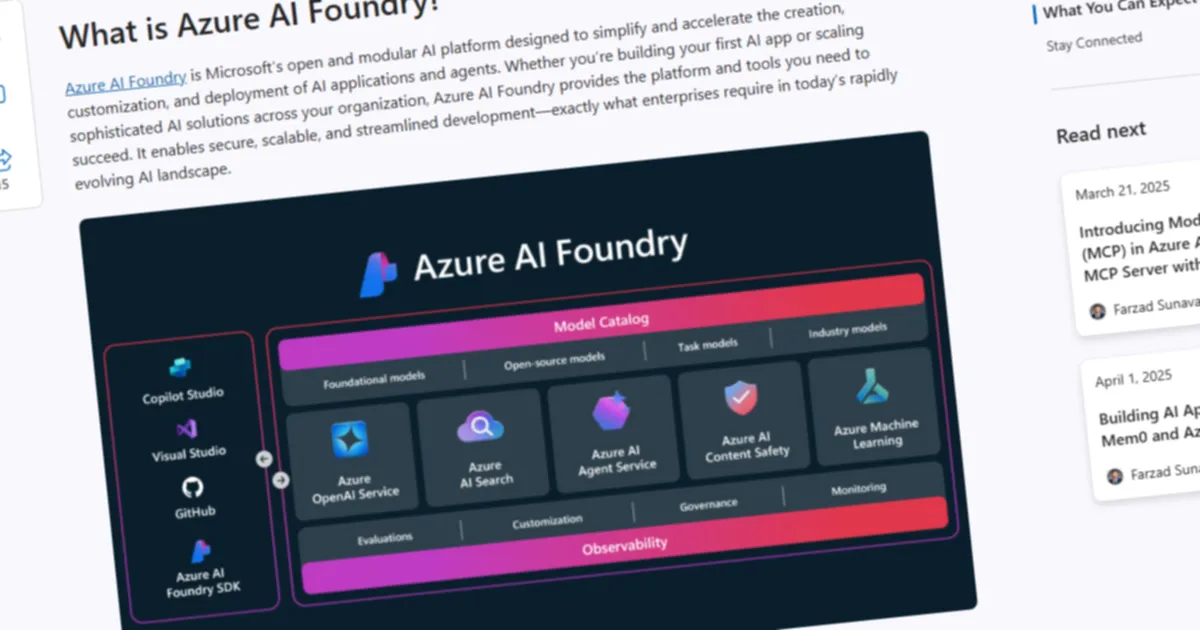
For the past years, my process for generating a header image has remained the same. Take a snapshot or store an image of a blog related topic, use Paint.NET to skew the image 6 degrees, resize it to 1200x630 pixels and save it. So that sounded like a great candidate to automate:
- Provide an image
- Download said image
- Skew it
- Resize it
- Add a little blur effect
- Save it
- Link it to the blog
In order to automate this process, I needed one additional detail in my blogs metadata; a reference to a downloadable image. So I added a new field downloableHeaderImage to the Front Matter config, but you can use any field you like. In This case the field will contain the path to the image that can be used.
The script itself must be able to download the image, skew it, resize it, add a little blur effect and save it. I decided to use the sharp package for this. In order to download the image I went with playwright as it is a headless browser that can be used to take screenshots.
The only requirement now is that there is something online I can take the screenshot of, for events that can be the event site, or I can take a random screenshot of the internet and use that as a background image.
The script
The script uses the Playwright Chromium to start a browser instance, open the given downloadableImageUrl and take a screenshot. The screenshot is then processed using sharp to skew it, resize it and save it as a .png and .webp file. The .png file is then converted to a .webp file. The script then updates the Front Matter config with the path to the generated image.
Resulting in the following script:
//@ts-check
import * as uuid from "uuid";
import { ContentScript } from "@frontmatter/extensibility";
import { chromium } from 'playwright';
import sharp from 'sharp';
import fs from 'fs/promises';

const contentScriptArgs = ContentScript.getArguments();

if (contentScriptArgs) {
  const { workspacePath, frontMatter } = contentScriptArgs;

  if (workspacePath && frontMatter) {
    const fileName = `${uuid.v4()}`;
    const filePath = `${workspacePath}/static/wp-content/uploads/${new Date().getFullYear()}/${fileName}`;
    const frontMatterPath = `/wp-content/uploads/${new Date().getFullYear()}/${fileName}.webp`;
    const tempFile = `${filePath}-temp.png`;

    const processedImagePathPng = `${filePath}.png`;
    const processedImagePathWebp = `${filePath}.webp`;

    if (frontMatter.title && frontMatter.date) {
      (async () => {
        // Launch a headless browser
        const browser = await chromium.launch({ headless: true });

        // Create a new browser context
        const context = await browser.newContext({
          viewport: {
            width: 1600,
            height: 1024
          }
        });

        // Open a new page
        const page = await context.newPage();

        // Navigate to the desired website
        const url = frontMatter.downloableHeaderImage || 'https://www.cloudappie.nl';

        await page.goto(url);

        // Wait for the page to load completely (optional, adjust selectors as needed)
        await page.waitForLoadState('load');

        // wait 5 more seconds for everything to load as sometimes it takes time to load in video or images
        await page.waitForTimeout(5000);

        // Take a screenshot of the loaded website
        await page.screenshot({ path: tempFile });

        // Close the browser
        await browser.close();
    })().then(async () => {
        await sharp(tempFile)
          .rotate(-6) // Rotate the image then add a bit of blur
          .composite([{
            input: Buffer.from(`
              <svg>
                <defs>
                  <pattern id="scanlines" patternUnits="userSpaceOnUse" width="4" height="4">
                    <line x1="0" y1="1" x2="100%" y2="1" stroke="rgba(0,0,0,0.1)" stroke-width="1"/>
                  </pattern>
                </defs>
                <rect width="100%" height="100%" fill="url(#scanlines)"/>
              </svg>`),
            blend: 'overlay'
          }])
          .extract({ width: 1200, height: 630, left: 140, top: 200 }) // Zoom in by cropping the center area
          .resize(1200, 630, {
              fit: 'cover', // Ensures the image is cropped to fit the dimensions
              position: 'center' // Centers the crop
          })
          .toFile(processedImagePathPng).then(async () => {
            await sharp(processedImagePathPng)
              .toFormat('webp')
              .toFile(processedImagePathWebp);

            fs.unlink(tempFile); // remove temp file
            ContentScript.updateFrontMatter({ image: frontMatterPath });
        }).catch((error) => console.error("Error processing screenshot", error));
    }).catch((error) => console.error("Error while taking screenshot", error));
    }
  }
}
Albert-Jan Schot
CTO, Microsoft MVP & FastTrack Recognized Solution Architect
I am Albert-Jan Schot, CTO at Blis Digital, Microsoft MVP, and FastTrack Recognized Solution Architect focused on Microsoft 365, Azure, and AI agents. I help teams turn complex Microsoft Cloud challenges into practical architecture decisions and shipped outcomes.
Zuid Holland, Netherlands